
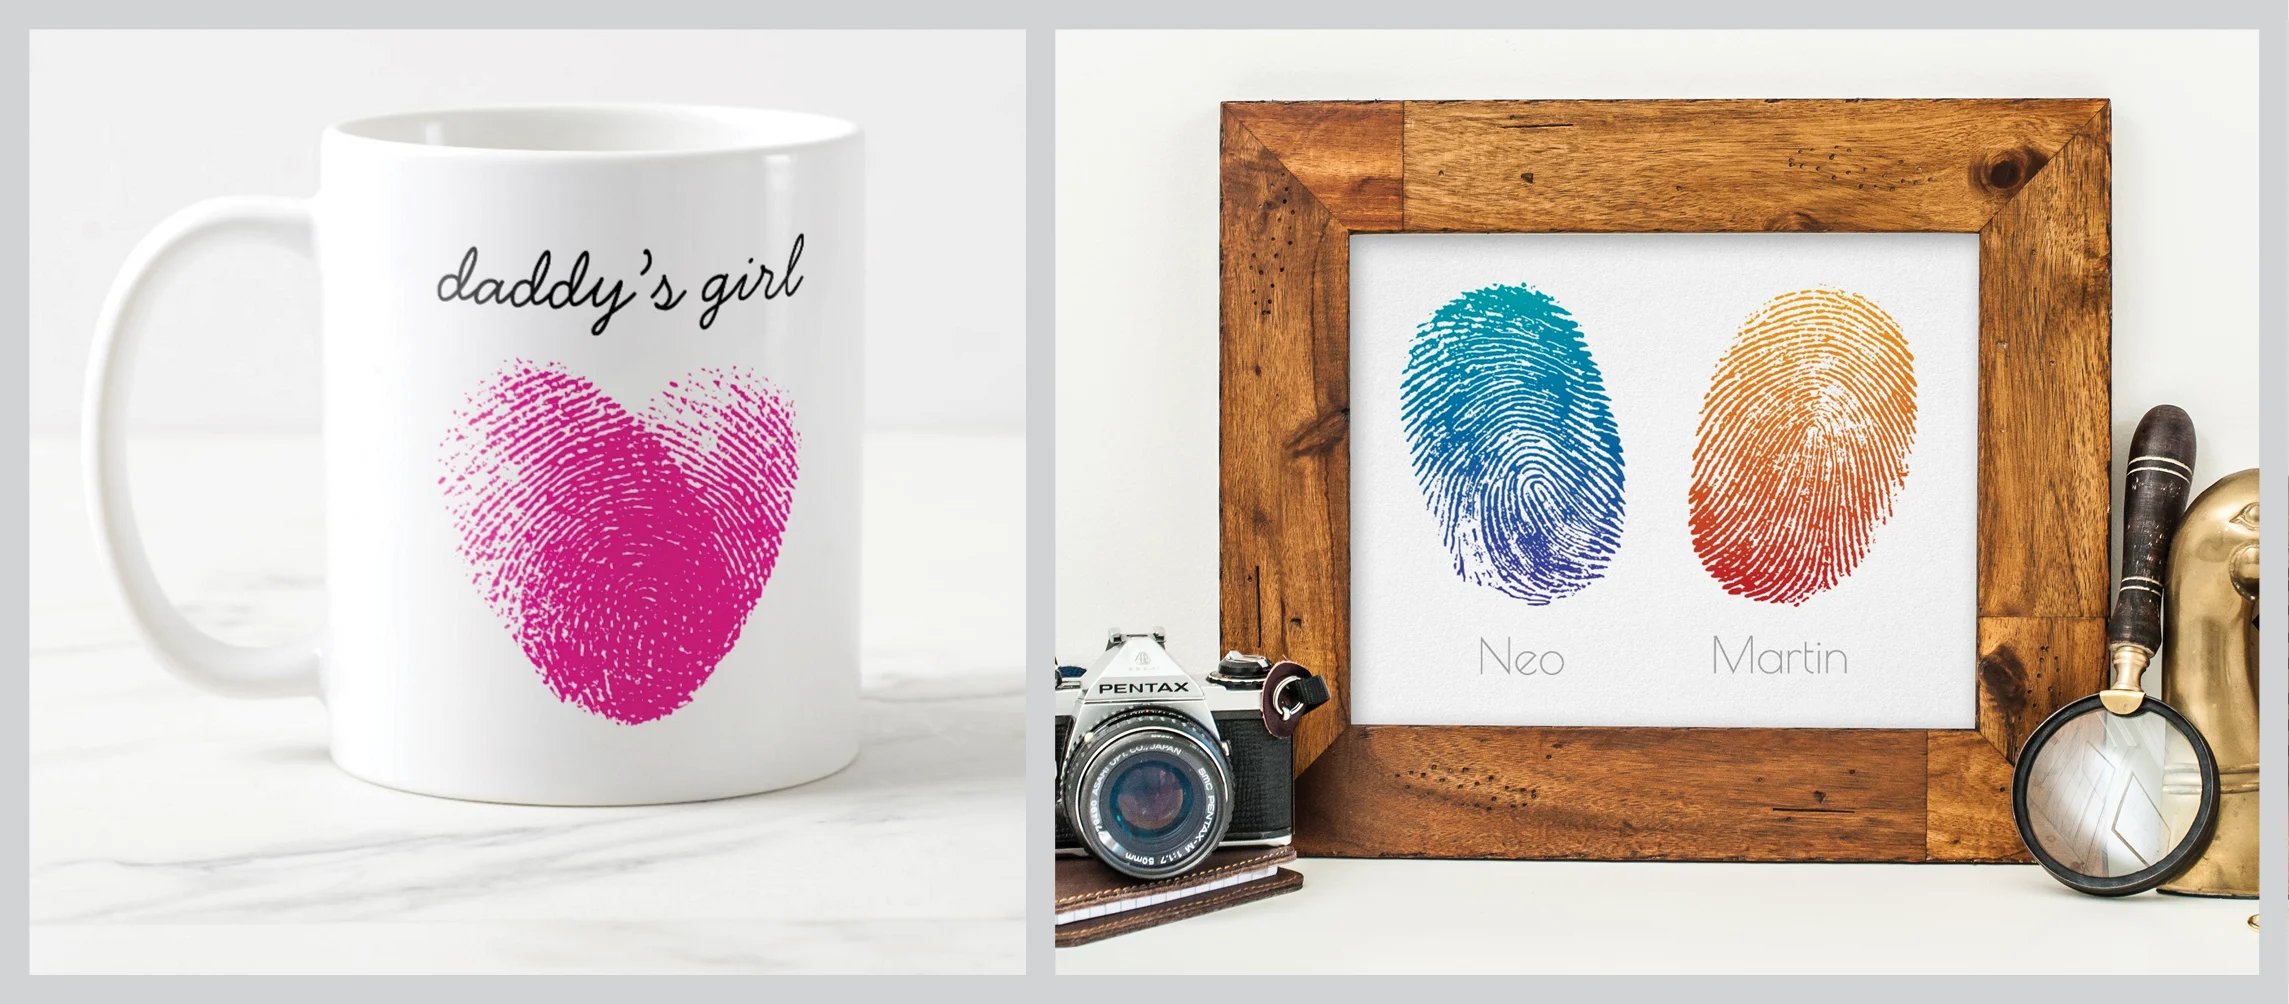
Zazzle was kind enough to ask me to do a guest post for a DIY Father's Day project. Head over to their blog to see how to create fingerprint art keepsakes for DAD! You'll find out how to digitize your prints into vector art that can scaled to any size and the color changed to suit your creative vision.
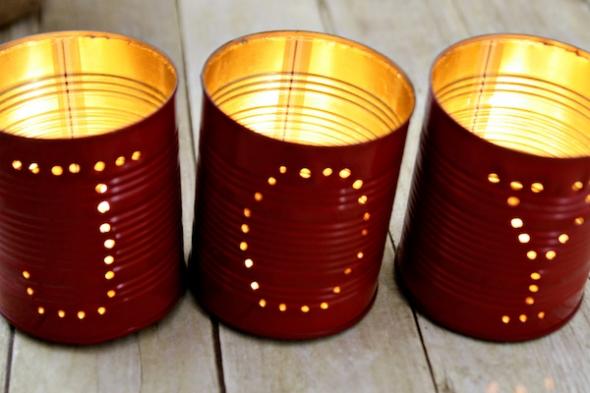
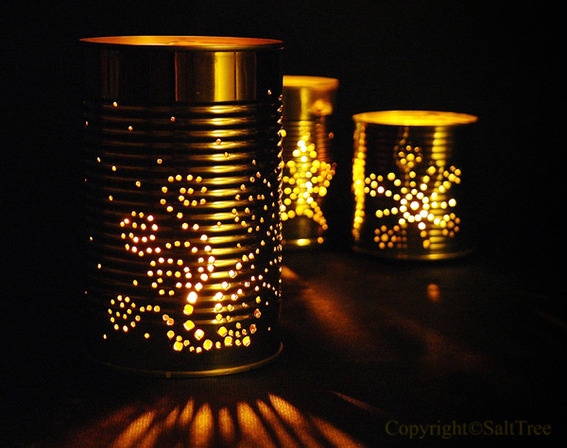
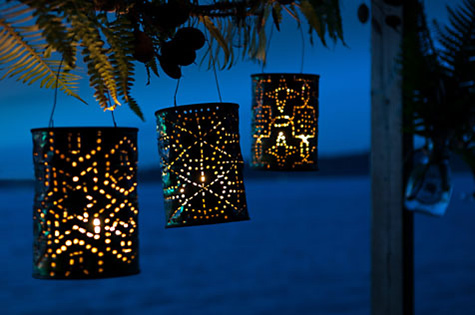
Upcycled soup can luminaries
I love luminaries during the holidays, but the traditional paper bags filled with sand only get one use which seems like a bit of a waste. Soup or vegetable cans make wonderful luminaries and you only need some paint, a hammer and a nail to create intricate patterns.
Images: Celebrations // Curbly // Design Sponge
DIY sit down desk to stand up desk
I've been slouching more and more at my desk and finally said "enough!" I searched online, but all the stand up desks were just so ugly and I love the design of my current desk. I asked my hubby to please, please, please help me fix my desk and this is how we did it.
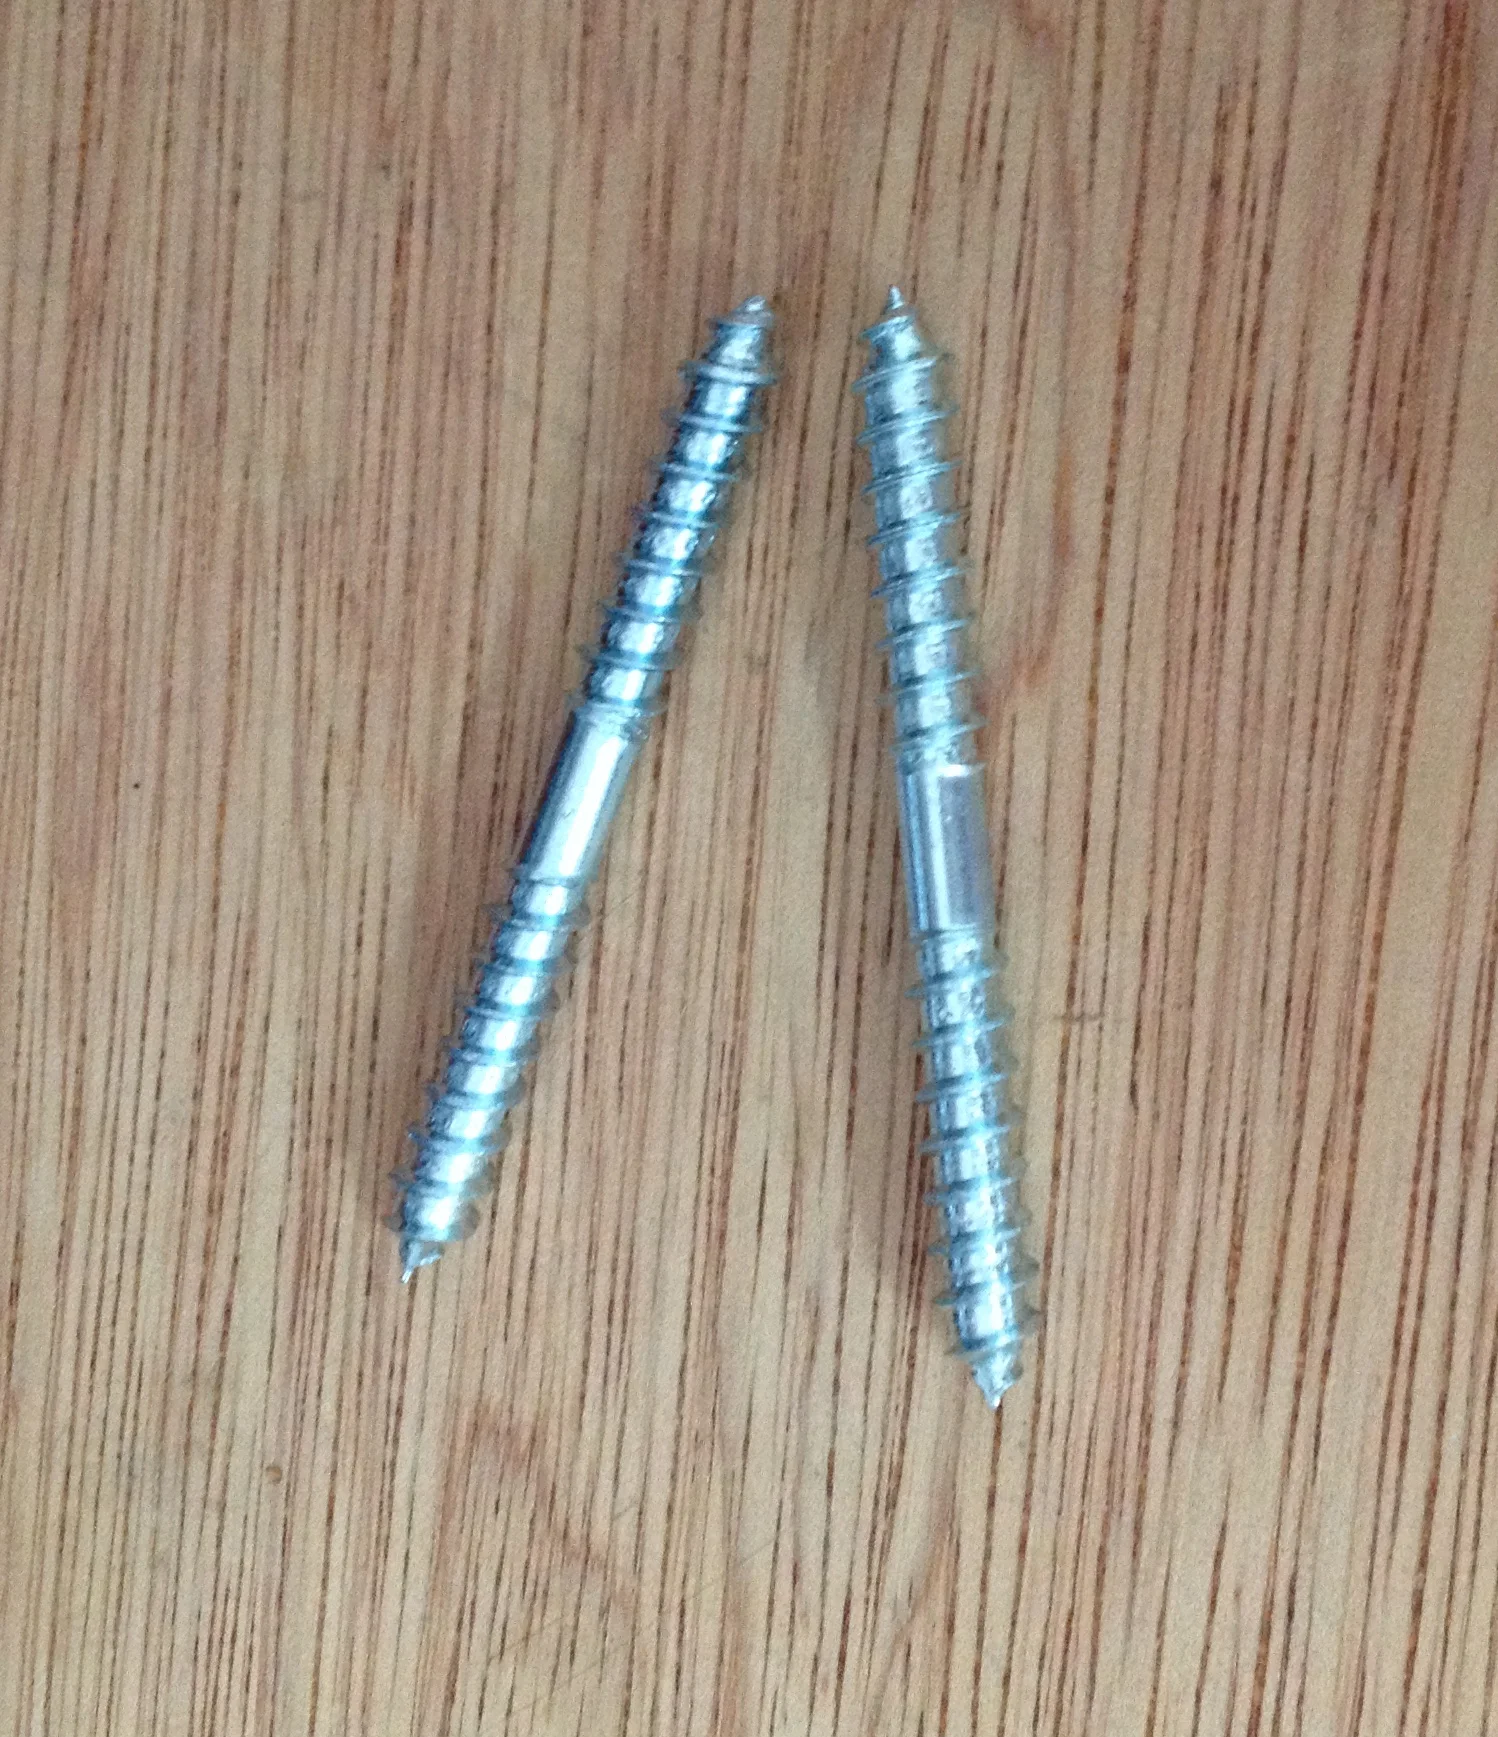
Materials: 2 x 2 wood, dowel screws, spray paint, wood glue
- Cut wood into 4 sections into length desired to raise desk height
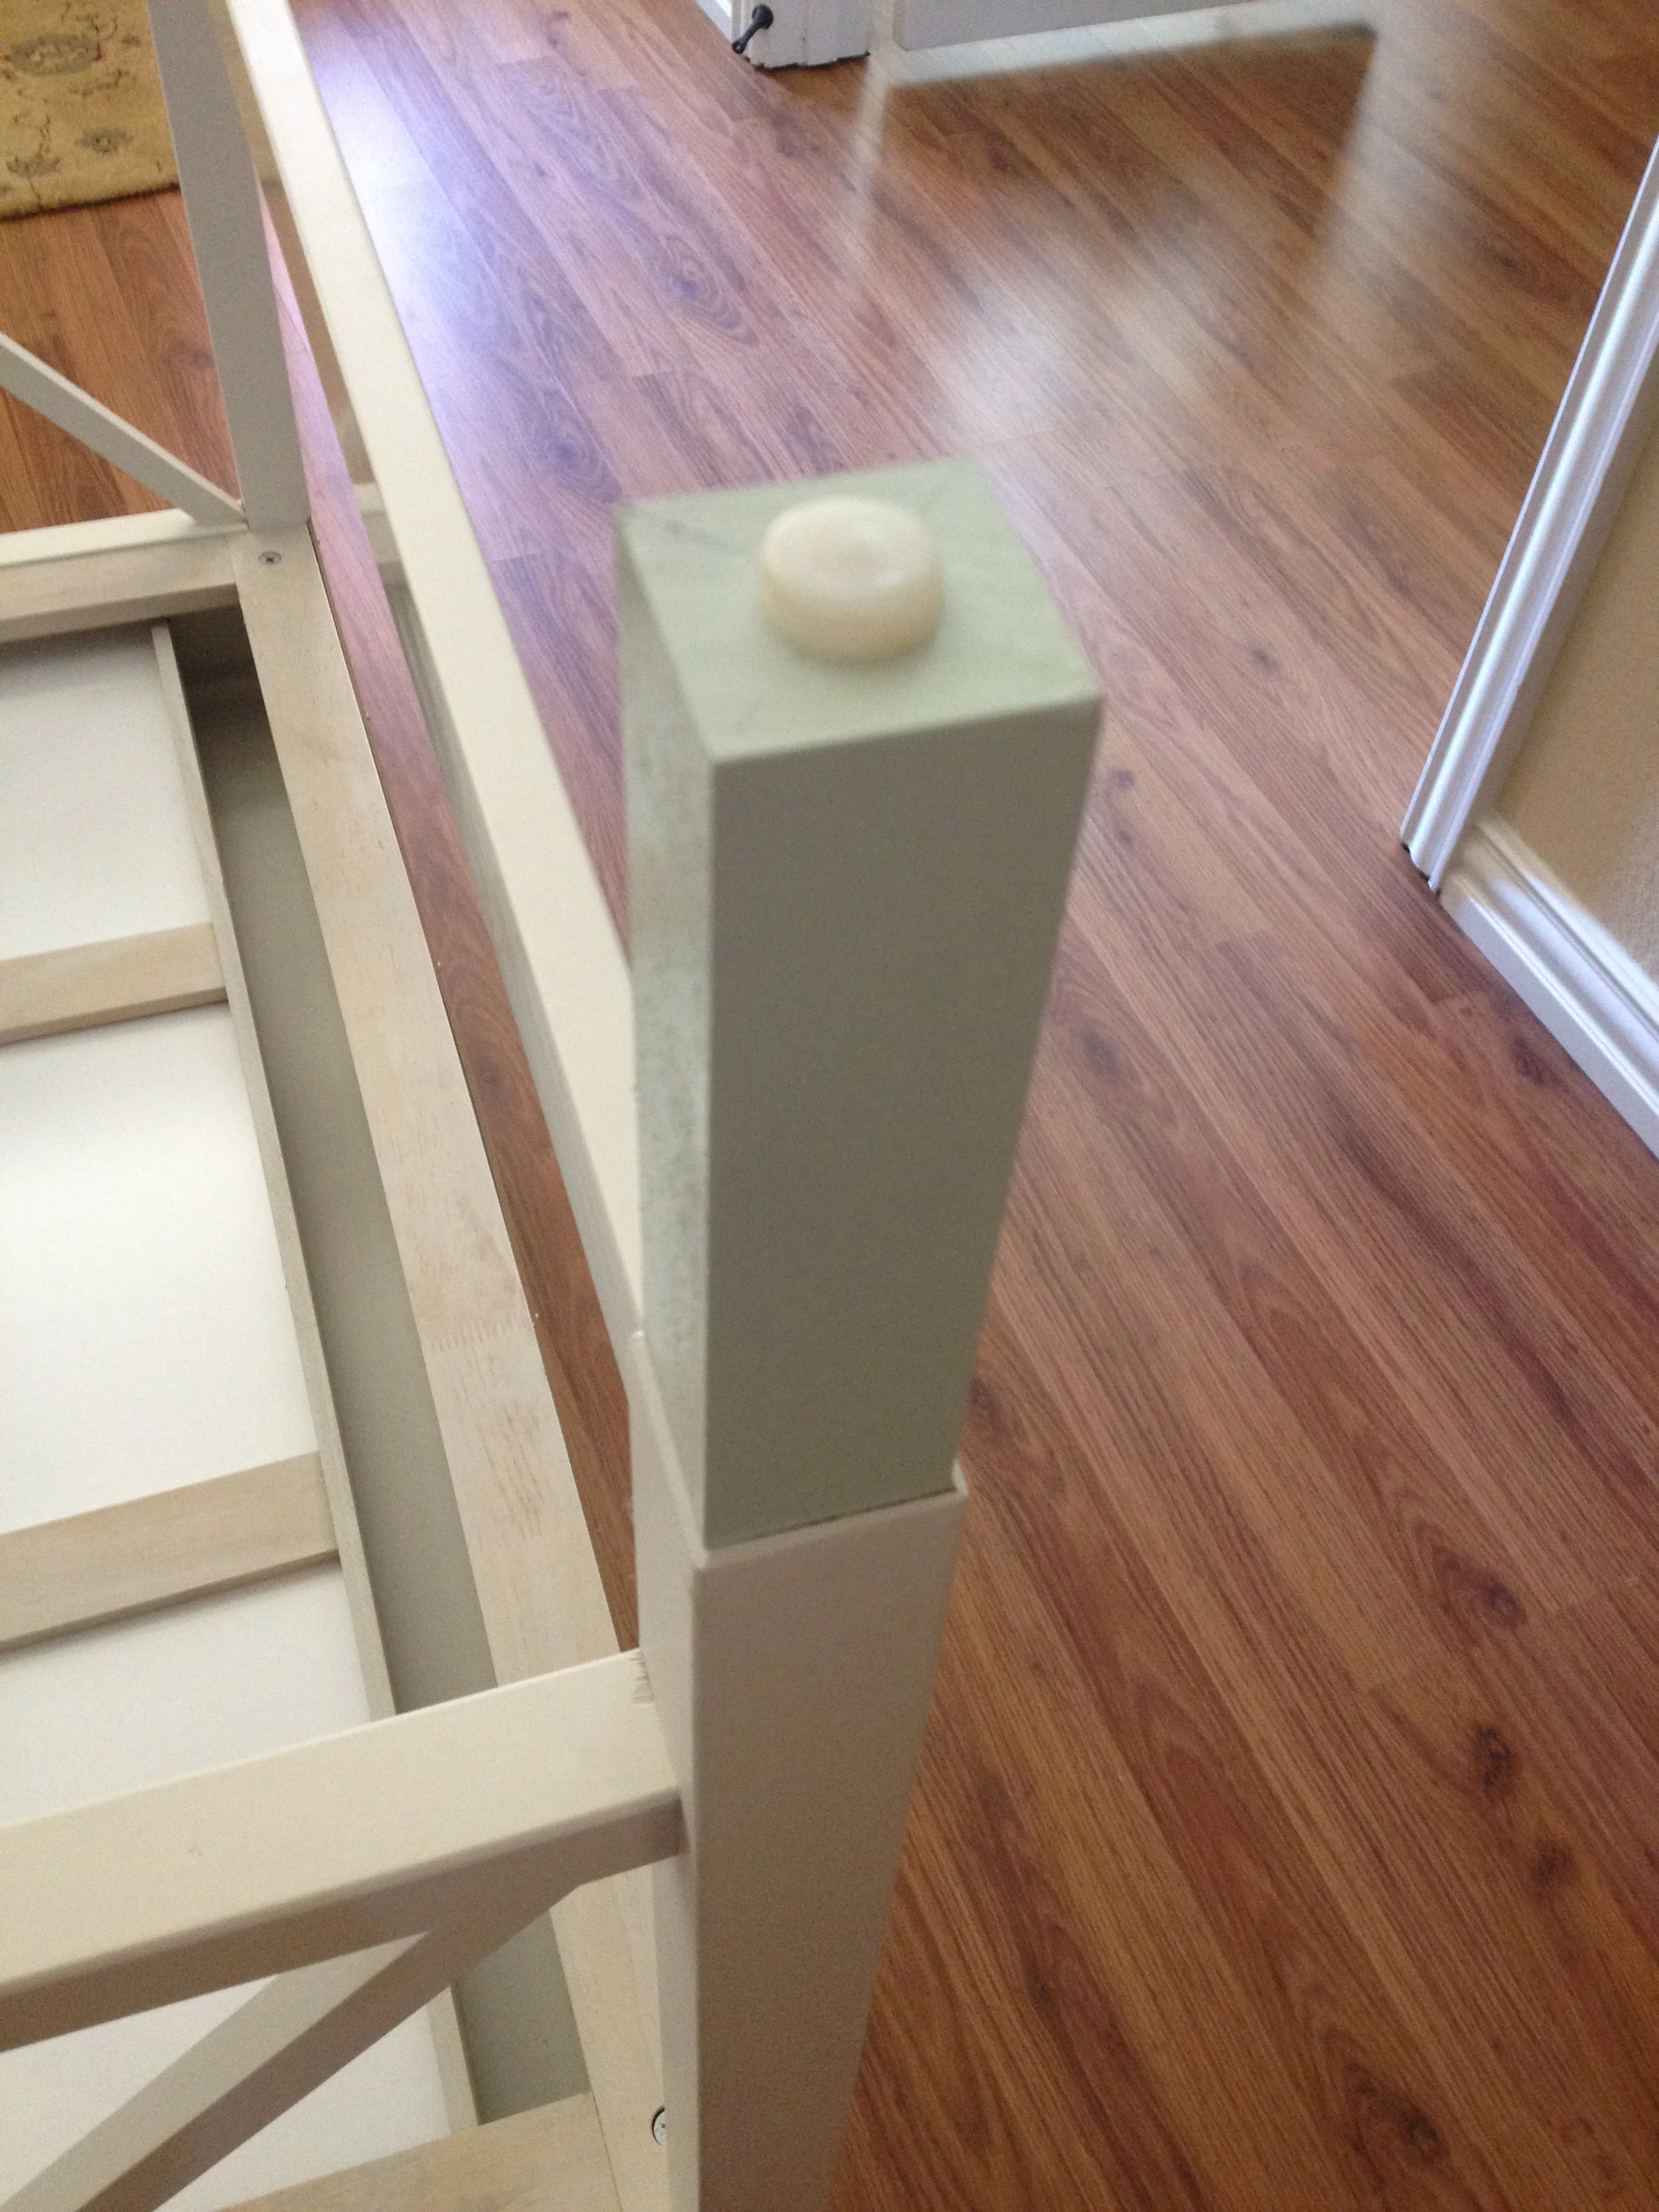
- Insert dowel screws into the newly created "leg extenders" and spray paint
- When dry, put wood glue on desk legs and screw extenders into place
We also added back the nylon bumper feet that were attached to the original legs


DIY Thanksgiving centerpieces
If you're looking for a little table inspiration for Thanksgiving, check out these DIY centerpieces:

1. Tea light candle log by SAS interiors
2. Gilded branch centerpiece at Babble
3. Carved pumpkin tea light holders at Little Homes and Big Hearts
4. Pine cone turkeys by Earth911
Halloween craft projects

If you're looking for some quick and easy craft projects for Halloween, check out these tutorials:
1. Lollipop witch broomsticks by a pumpkin and a princess
2. Ghost doorknob hangar at better homes and gardens
3. Upcycled Spirit jugs at spoonful
DIY valance
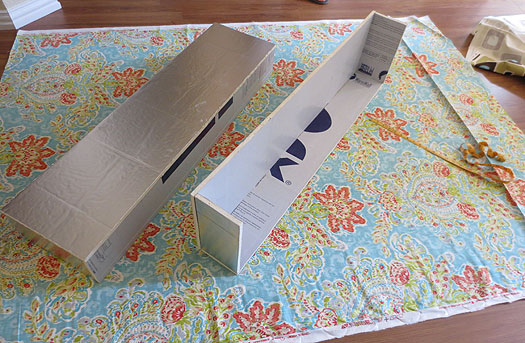
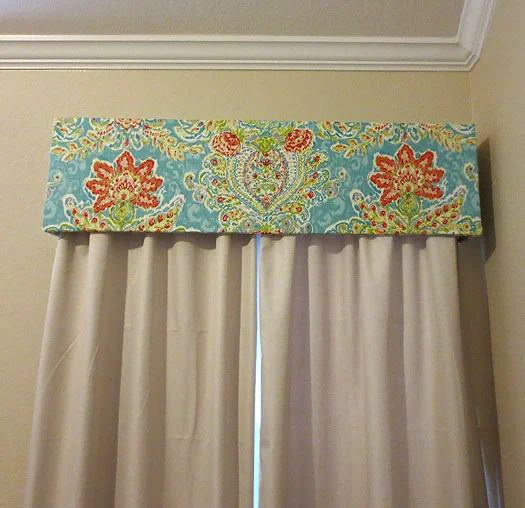
We finally got around to making valances for the bedroom. The hubby constructed the boxes out of foam insulation board. It's extremely lightweight so you can construct very large pieces that don't require massive hardware to hang. We just put two small L-shaped brackets and set the boxes on top.
We chose upholstery fabric as our covering and used Aleene's Fast Grab Tacky Glue to attach it to the foam board. For a little extra security I inserted some dressmaker pins at an angle on the interior fabric folds. We are pretty darned proud of our new window treatment.v

DIY wine cork wreath
We have been saving wine corks for about 4 years now and it was finally time to do something with them before they overtook the house. Yes, we like wine. A lot.


Step 1 - drink wine so you can collect corks. It's a hard job, but someone has to do it.
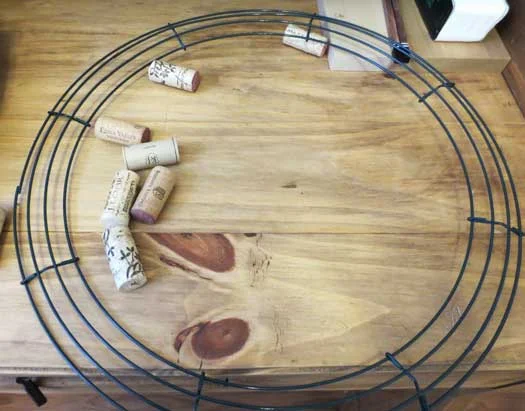
Step 2 - get a lightweight wire frame, a drill, some thin, flexible wire and hot glue

Step 3 - drill through the diameter of enough corks to go around the inner and outer edges of your frame and secure with wire
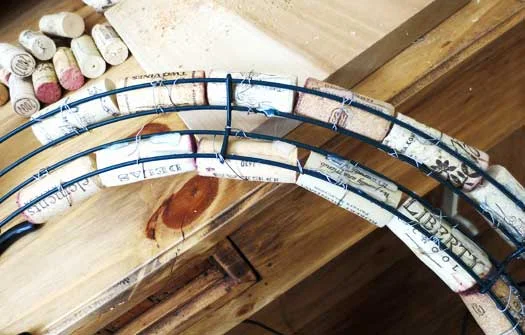
Step 4 - add a little hot glue for extra security, flip the frame over and hot glue the rest of the corks along the center chanel. I added an additional row/layer along the inner part of the circle for more drama.

Step 5 - add some dangly corks to the center (or not), add a wire loop to the back for hanging and enjoy a glass of wine while admiring your creation